How to create a project plan: the 6 steps that matter
Most project plans are built backwards: someone opens a tool, draws bars on a timeline, and calls the result a plan. Three weeks later not a single bar is accurate, and nobody opens the file again.
A plan that holds is built in six steps — and the timeline only appears in the fifth.
Step 1: The outcome in one sentence
Before anything is planned, it must be clear how you will know it is finished.
Not: "We are modernising the website." But: "The new site is live, every old URL redirects, and the contact form demonstrably delivers."
That is not word-play. The first sentence can never be finished — there is always something left to modernise. The second has a checkable end point.
Step 2: Fix the scope — including what is out
Write two lists: in scope and explicitly out of scope.
The second list is the more important one. It is the only thing that later protects you from creeping additions. When someone says in May, "could we just add a blog while we're at it", the answer is not a negotiation — it is a pointer to the list.
Step 3: Break down before you estimate
Nobody can estimate "three months". People can estimate two days.
Split the outcome hierarchically into work packages until each is between 8 and 80 hours. How to do that in detail is in our Work Breakdown Structure guide.
Only once that breakdown exists does estimating mean anything.
Step 4: Estimate — and take the estimate seriously
This is where most plans fail, for a psychological reason: we estimate the best case and then treat it as the expectation.
A simple counter-measure is three-point estimation. Three numbers per package:
- O — optimistic, if everything goes smoothly
- M — most likely, the normal course
- P — pessimistic, when the usual things go wrong
The expected value is then:
(O + 4 × M + P) / 6
An example for "build the contact form":
| Hours | |
| Optimistic | 6 |
| Most likely | 12 |
| Pessimistic | 30 |
| Expected | 14 |
Most people would have said "a day". The formula says nearly two. The difference is not pessimism — it is that the pessimistic case was said out loud at all.
Step 5: Sequence, not dates
Only now does the timeline appear — and not as a wished-for date, but as a chain of dependencies.
For every package ask: what must be finished before I can start this?
The longest chain of those dependencies is the critical path. It sets the minimum duration of the project. Anything off that path has slack — and that is exactly where you can pull people away when something else catches fire.
Record those dependencies so they stay visible. In ORBYLOX you set what a ticket waits for on the card itself; it then shows a lock and cannot be dragged to "Done" while a predecessor is open.
Step 6: Buffer — in one place, not everywhere
The usual mistake: everyone adds 20% to their own estimate. The result is a buffer that is invisible and still fully consumed. A task with a buffer will take exactly as long as it is allowed to.
Better: estimate every package without buffer, and put one shared buffer at the end. Around 15% of total duration for familiar work, up to 40% for unfamiliar territory.
That buffer belongs to the project, not to the individual task. Anyone who eats into it does so visibly — and you see early if it is shrinking too fast.
The plan is a tool, not a document
A plan nobody touches after sign-off was an exercise in looking busy. Plan and board must show the same truth: when a task moves, the plan moves with it.
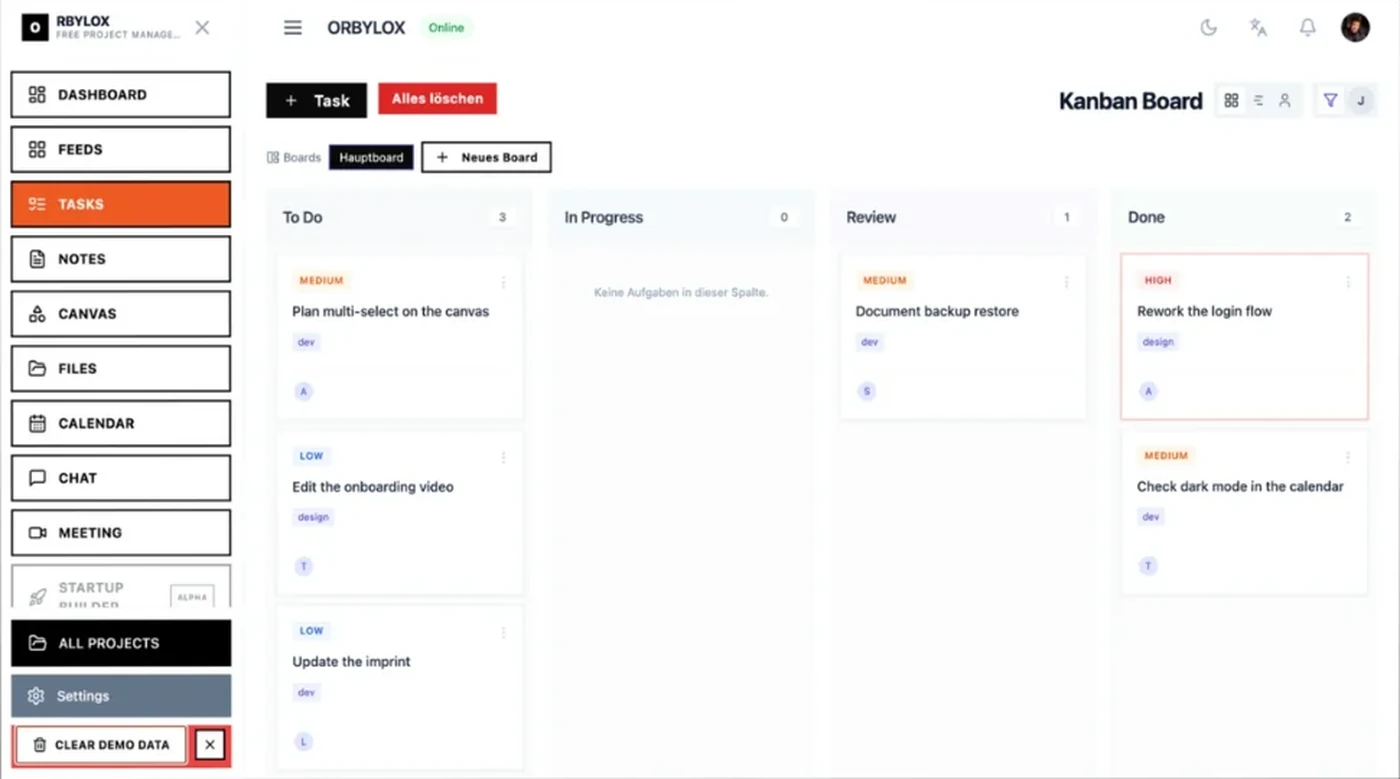
That only works when both live in one place. How to set up the board for that is in 5 mistakes every team makes with Kanban.
The short version
- Outcome in one checkable sentence
- Fix scope — especially what is out
- Break down to 8–80 hours
- Three-point estimation instead of the best case
- Sequence by dependencies, then find the critical path
- One shared buffer at the end
ORBYLOX brings breakdown, board, dependencies and time tracking together — free, no credit card.